How to Create a Virtual Corkboard for Your Novel in Scrivener

Do love the easy visual organization that working with index cards can provide?
When it comes to your writing projects, you can now create and work with virtual index cards by utilizing Scrivener’s Corkboard Mode — and you’ll never have to worry about misplacing your physical cards again. Not sure how to access, utilize, or customize this epic Scrivener feature? Let’s dive in deep!
Today’s video lesson and transcript are excerpted from our full-length Storytelling With Scrivener video tutorial course (note: this course is now retired). If you’re unsure if Scrivener is the right program for you, make sure to give this article in our Scrivener blog series a read.
(Note: This video lesson uses Scrivener 3 for Mac. Features & interface details may vary if you’re using a different version.)
In the last lesson in our course (“Working In Corkboard Mode”), we discussed the first Scrivener feature that provides an easy overview of your entire project: Outliner Mode. In today’s lesson, we’re going to break down the second feature that provides a fantastic look at your project as a whole, and that is Corkboard Mode.
#1: Accessing Corkboard Mode
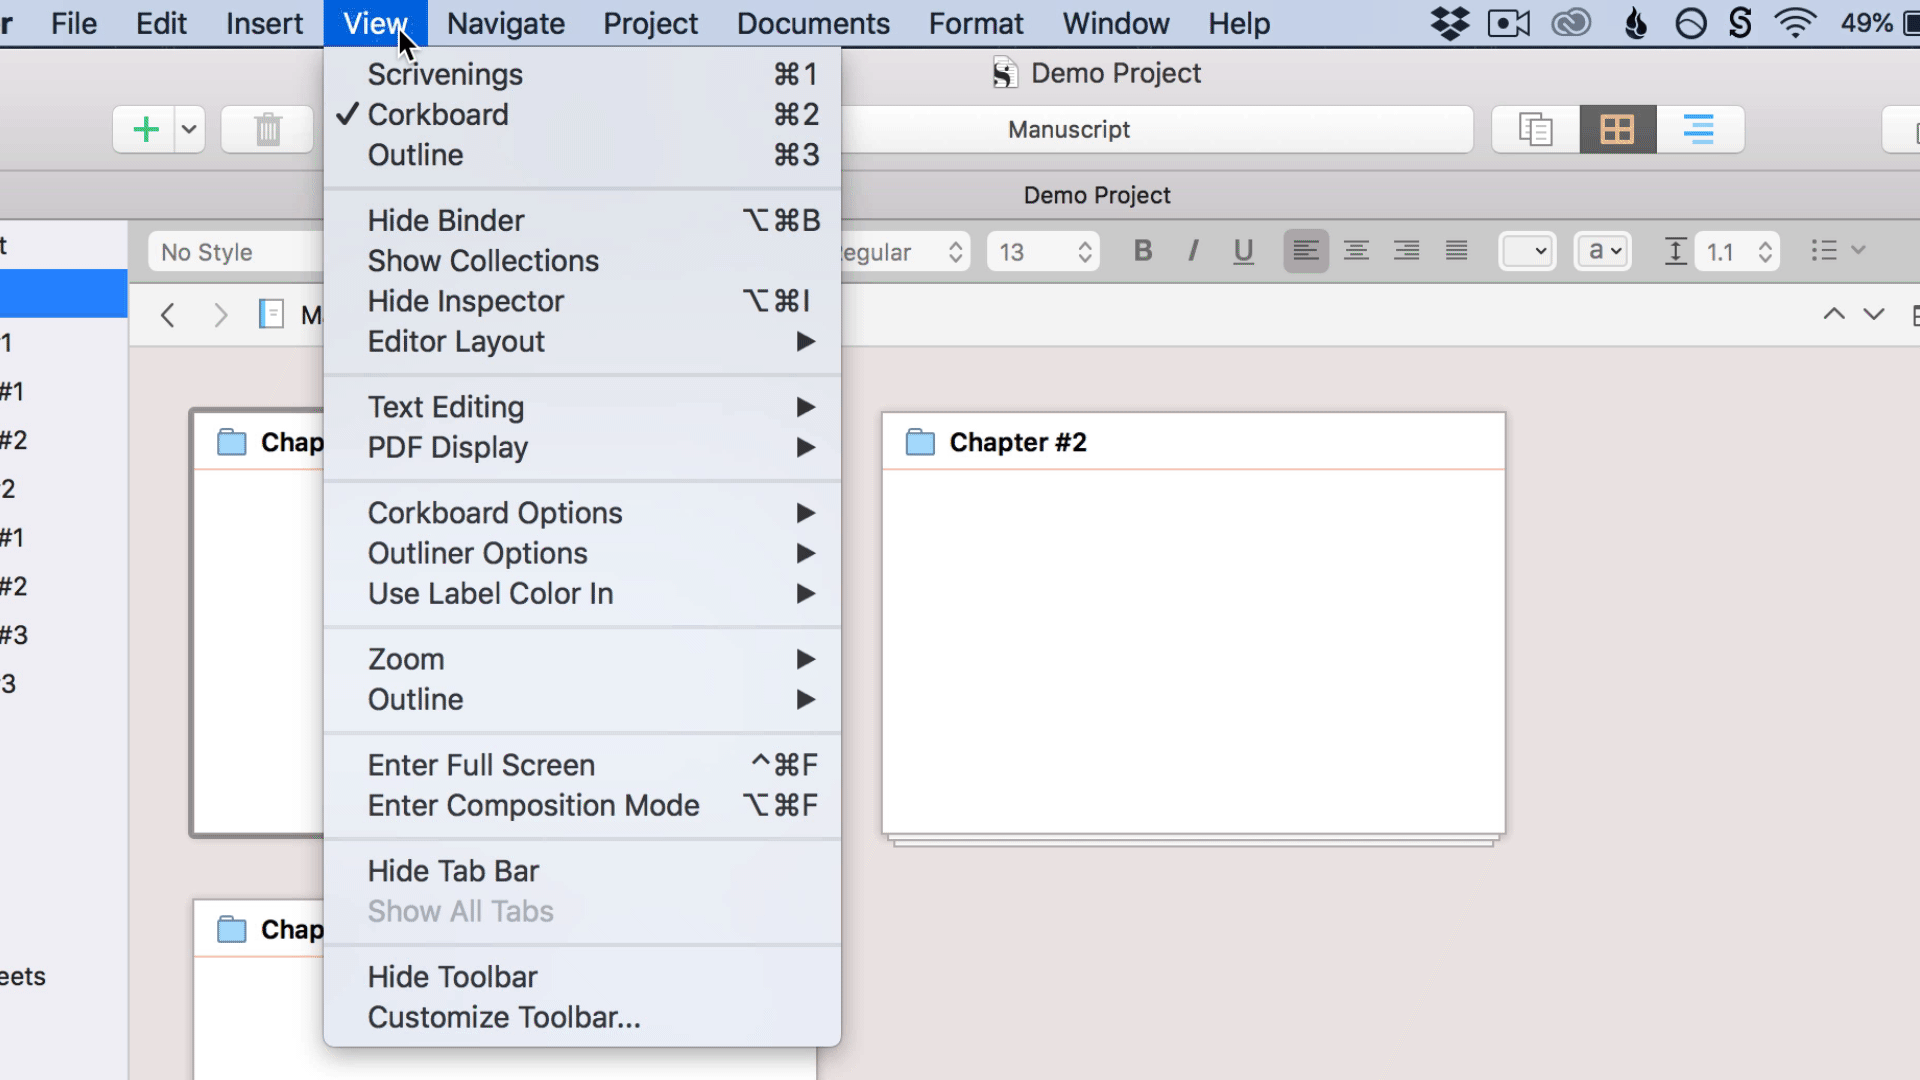
To access Corkboard Mode, first head over to your Binder and highlight the folder whose subfolders and documents you’d like to view on your Corkboard. Then, select the Corkboard icon in your default Toolbar or head up to View and select “Corkboard”, and Corkboard Mode will open in your Primary Editor.
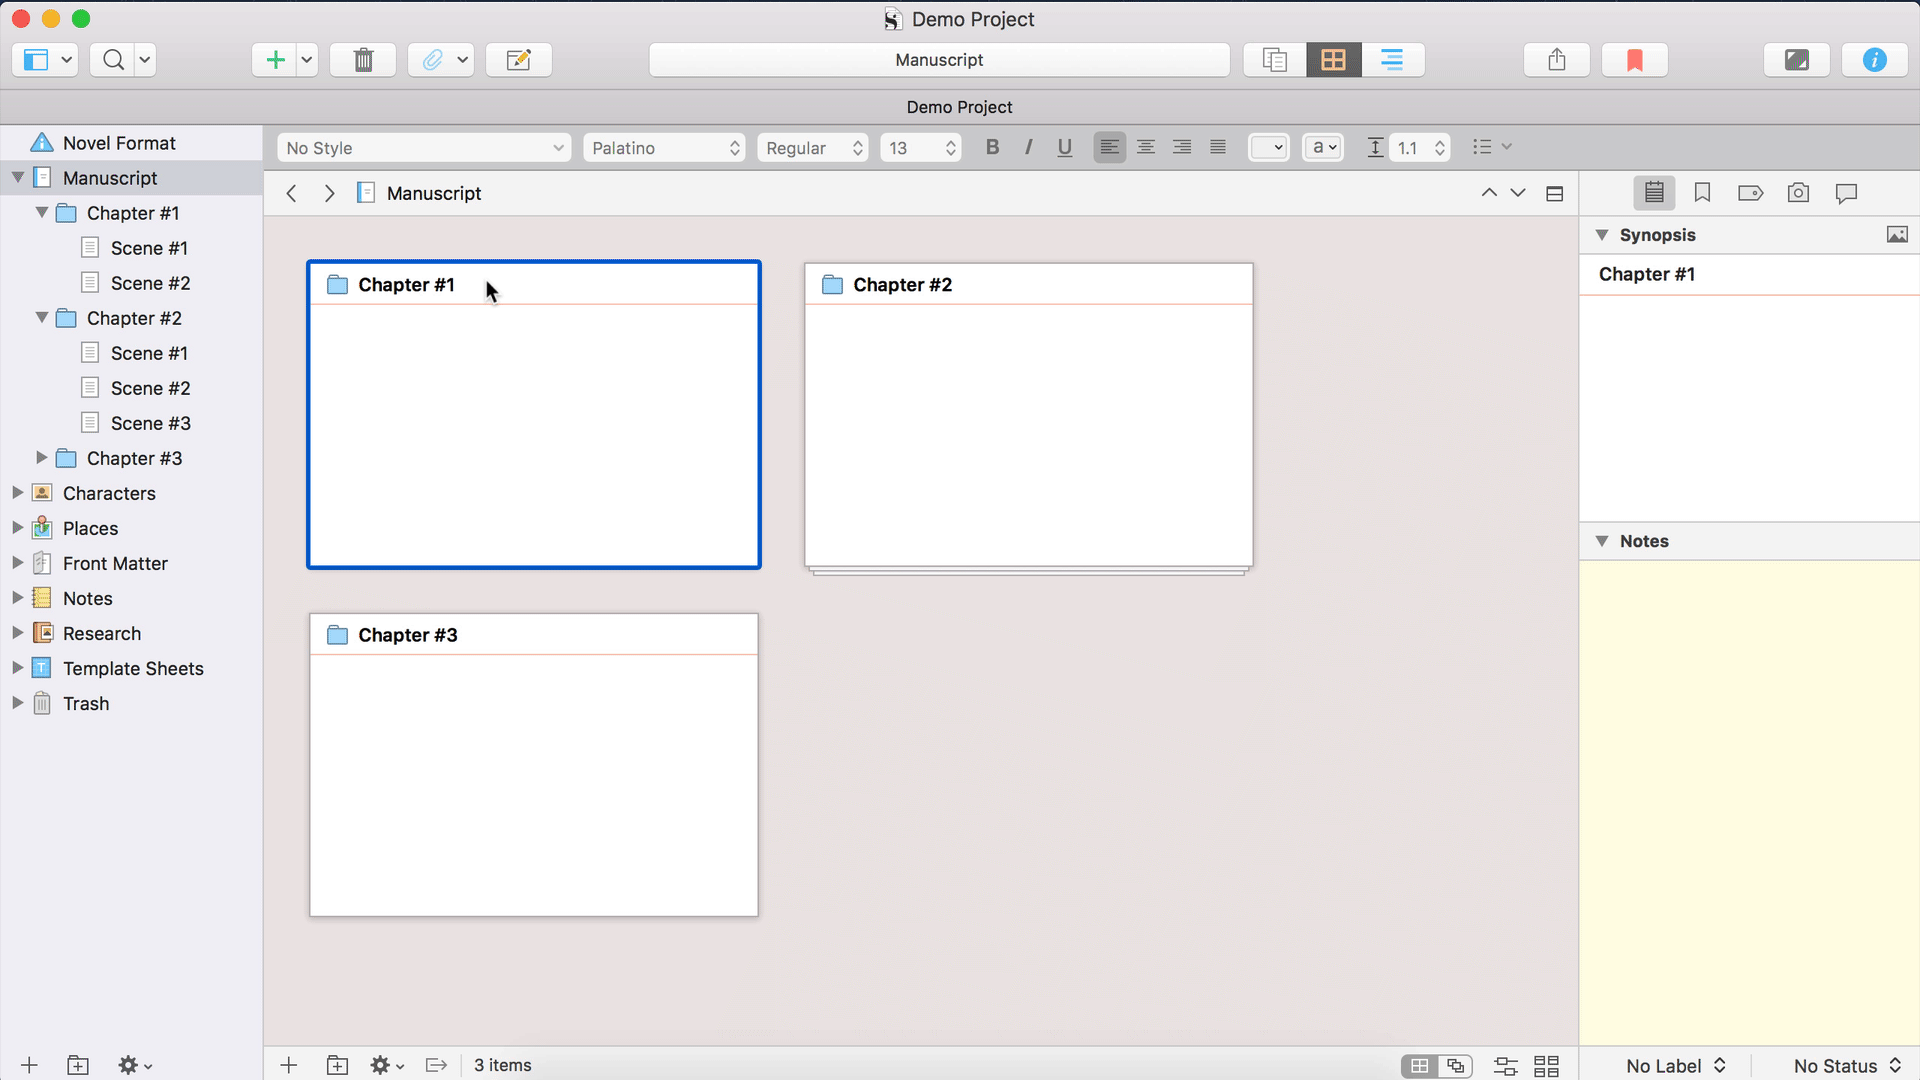
As you can see, subfolders are represented in Corkboard Mode as stacks of virtual index cards, while individual documents are represented as single index cards.
Clicking once on an index card highlights that card and opens its Inspector tabs here on the right. If you double-click on a document, it will open that document in your Editor, while if you double-click on a subfolder in Corkboard Mode, it will open the documents and subfolders contained within on your Corkboard.
#2: Assigning Index Card Titles & Synopses
Clicking once in an index card’s header allows you to rename your document or subfolder. Keep in mind that this change will be reflected in your Binder as well. Clicking once on the index card body will allow you to type a synopsis for your document, which will reflect in the Synopsis pane in the Notes tab in your Inspector.
Pressing “enter” or “return” on your keyboard while typing on your index card will only save the synopsis you’ve written. If you would like to create a line break while typing on your index card, make sure to hold the “alt” or “option” key while pressing “enter”.
#3: Reorganizing Index Cards
When it comes to outlining my projects, I personally love using Corkboard Mode for the visual organization it provides. Not only can you easily create a new document or folder using these two icons here in your Corkboard footer, but you can easily move Corkboard items around by clicking and dragging the card, then placing it wherever you’d like using the blue line that appears as an indicator.

Keep in mind that rearranging folders and documents in Corkboard Mode will also rearrange those same items in your Binder.
#4: Exploring the Corkboard Footer
Right-clicking on an index card will open up a settings menu, the same menu you can access using this icon in your Corkboard footer. This menu is very similar to others we’ve broken down throughout our course, so we won’t rehash these options here.

Also in our footer is an item count that indicates how many items are currently featured in our Corkboard. Next to this item count is an icon that, when clicked and highlighted blue, indicates that double-clicking on an index card will open that item in your Other Editor rather than your primary Editor.
For more information on Primary and Secondary Editors, make sure to check out the Splitting the Editor video in the Working in the Editor section of our course.
#5: Utilizing Freeform & Grid Corkboard Modes
Moving over to the right-hand side of our Corkboard footer here, there are a few more icon options we need to discuss. The first two allow you to toggle between your grid and freeform Corkboards.
With your grid Corkboard, all of your Binder items are organized in order here in a grid format. In freeform format, your index cards can be dragged and placed wherever you’d like in your Corkboard, which doesn’t affect those items in your Binder.

If you like the order in which you’ve arranged your items in freeform mode, you can press the “commit” button that has appeared here in your footer to tell Scrivener to arrange your items accordingly in your Binder, to the best of its ability. This freeform format is especially great for mind-mapping and other brainstorming techniques.
#6: Exploring Corkboard Customization Options
Next in your footer, we have the “Arrange By Label” icon. Selecting this icon will group your Corkboard items according to the Labels you’ve assigned them. You can also see your items’ Labels represented in grid Corkboard format on the edge of each index card, with each colored line correlating to a specific Label in your project.
If you don’t see these Label colors, head up to View > Corkboard Options > Show Label Colors Along Edges.
And finally, we have the Corkboard Options icon, that, when clicked, reveals a few quick options for customizing your Corkboard. Here, you can slide to resize your index cards, change the cards’ width-to-length ratio, change the distance between each card, decide how many cards will feature in each row, and decide how many Keyword color chips should appear on each card.

If you don’t see your Keyword color chips on your index cards, you can easily activate them by heading up to View > Corkboard Options > Show Keyword Colors.
In this same menu, you can also activate your Status Stamps, which applies the Status you’ve assigned each of your items overtop of their respective index cards. For more information on Labels and Statuses, check out the Outliner Mode lesson in this section of our course. For more information on utilizing Keywords, check out the Document Keywords lesson in the Utilizing the Inspector section of our course.
That is an overview of Scrivener’s Corkboard Mode, one of my very favorite outlining features and the second feature that, along with Outliner Mode, gives you an amazing overview of your progress on a project. But don’t go anywhere just yet.
If you’d like even more information on how to customize Outliner and Corkboard modes to fit your needs, make sure to check out the next lesson in our course...
Ready to purchase Scrivener?
Think you'd like to give Scrivener a try? Scrivener is available for Mac and Windows users for a one-time fee of $59.99 USD or a one-time fee of $23.99 for iOS (ex: iPad, iPhone, iPod Touch). You can also take advantage of their amazing free trial, which doesn’t expire for 30 working days.
* These are affiliate links, meaning I’ll earn commission on sales made through these links at no extra cost to you. Thank you for supporting Well-Storied!